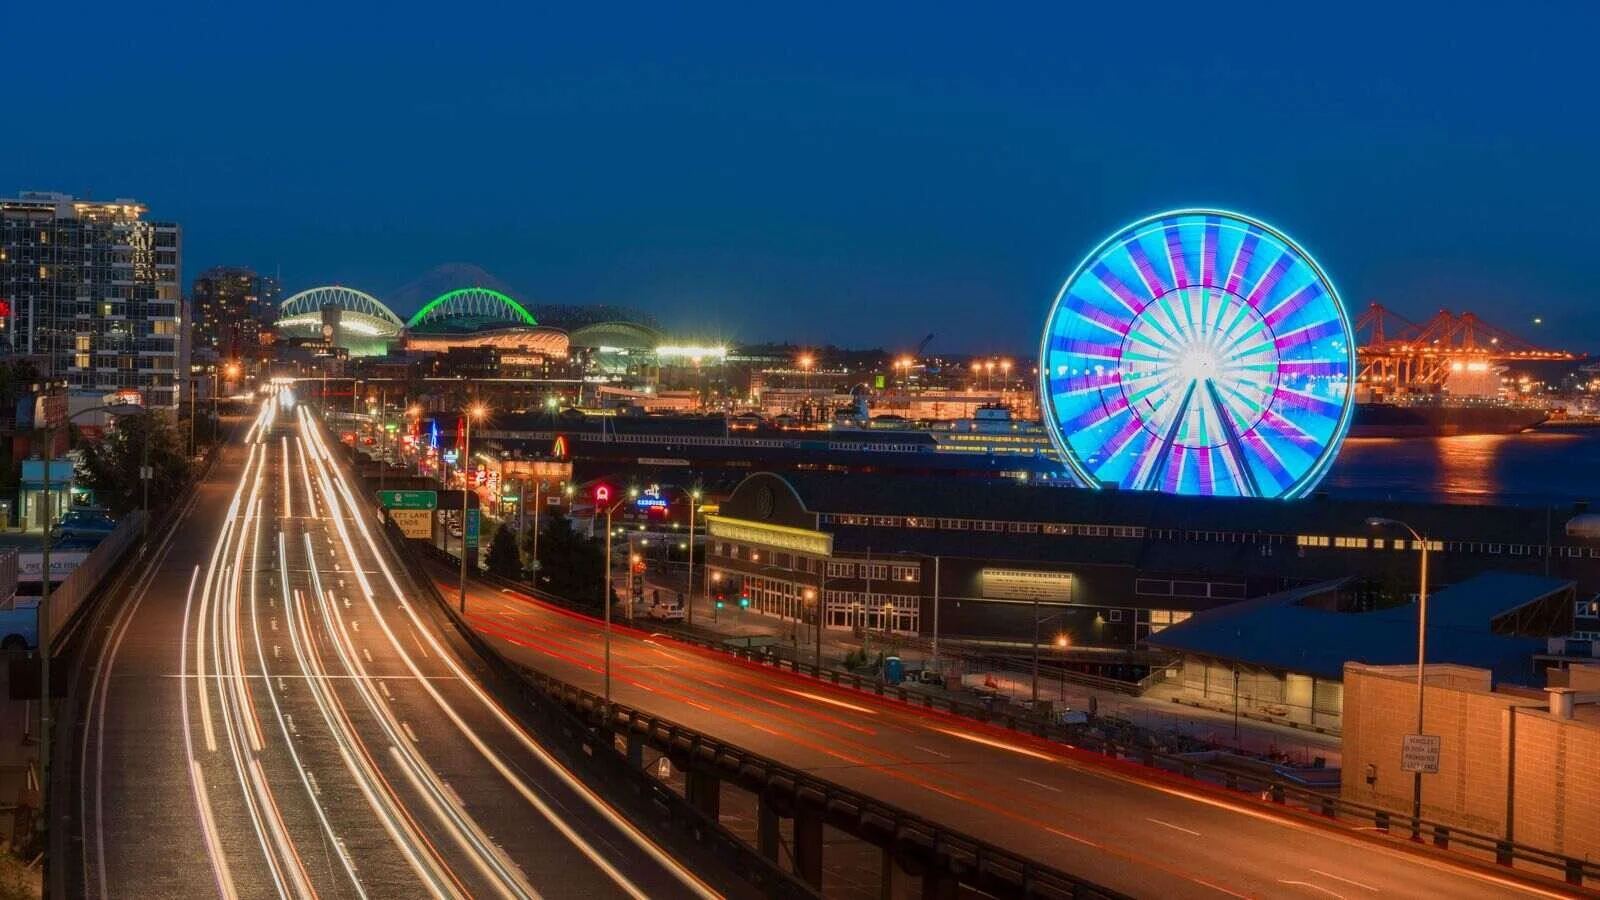
A timelapse turns hours of slow change, like clouds rolling over a city, a sunset or a flower opening, into a few seconds of video. It's one of the most impressive things you can shoot, and you don't need expensive gear: your phone can do it. In this guide, I'll explain the three ways to make a timelapse, how to choose the right interval, which settings to use on a phone or camera, and how to fix the most common problems.
Plan before you record: decide how long the finished clip should be, then work backwards to the shooting time and interval. That one step saves more failed timelapses than any setting.
What is a timelapse?
A timelapse is a video made from frames captured at a slower rate than they're played back. If you take one photo every two seconds and play them back at 30 frames per second, one minute of real time becomes one second of video. Slow events suddenly look fast and dramatic.
A hyperlapse is a timelapse where the camera also moves, for example while you walk through a city. Phones and action cameras stabilize these automatically, which makes them much easier than they used to be.
Three ways to make a timelapse
Record normal video and speed it up. The easiest option and great for practice. You can choose the speed later in editing. The downside is that long recordings take up a lot of storage and battery, and the motion can look a bit choppy.
Use a built-in timelapse or hyperlapse mode. Most phones, action cameras and drones have one. It's quick and saves storage, but you often can't control the interval or exposure.
Shoot a photo sequence at a fixed interval. A camera, a phone app or an intervalometer takes a photo every few seconds, and you combine them into a video. It gives the best quality and full control, especially with RAW files, but it takes more time to set up and edit.
How to plan your interval and shooting time
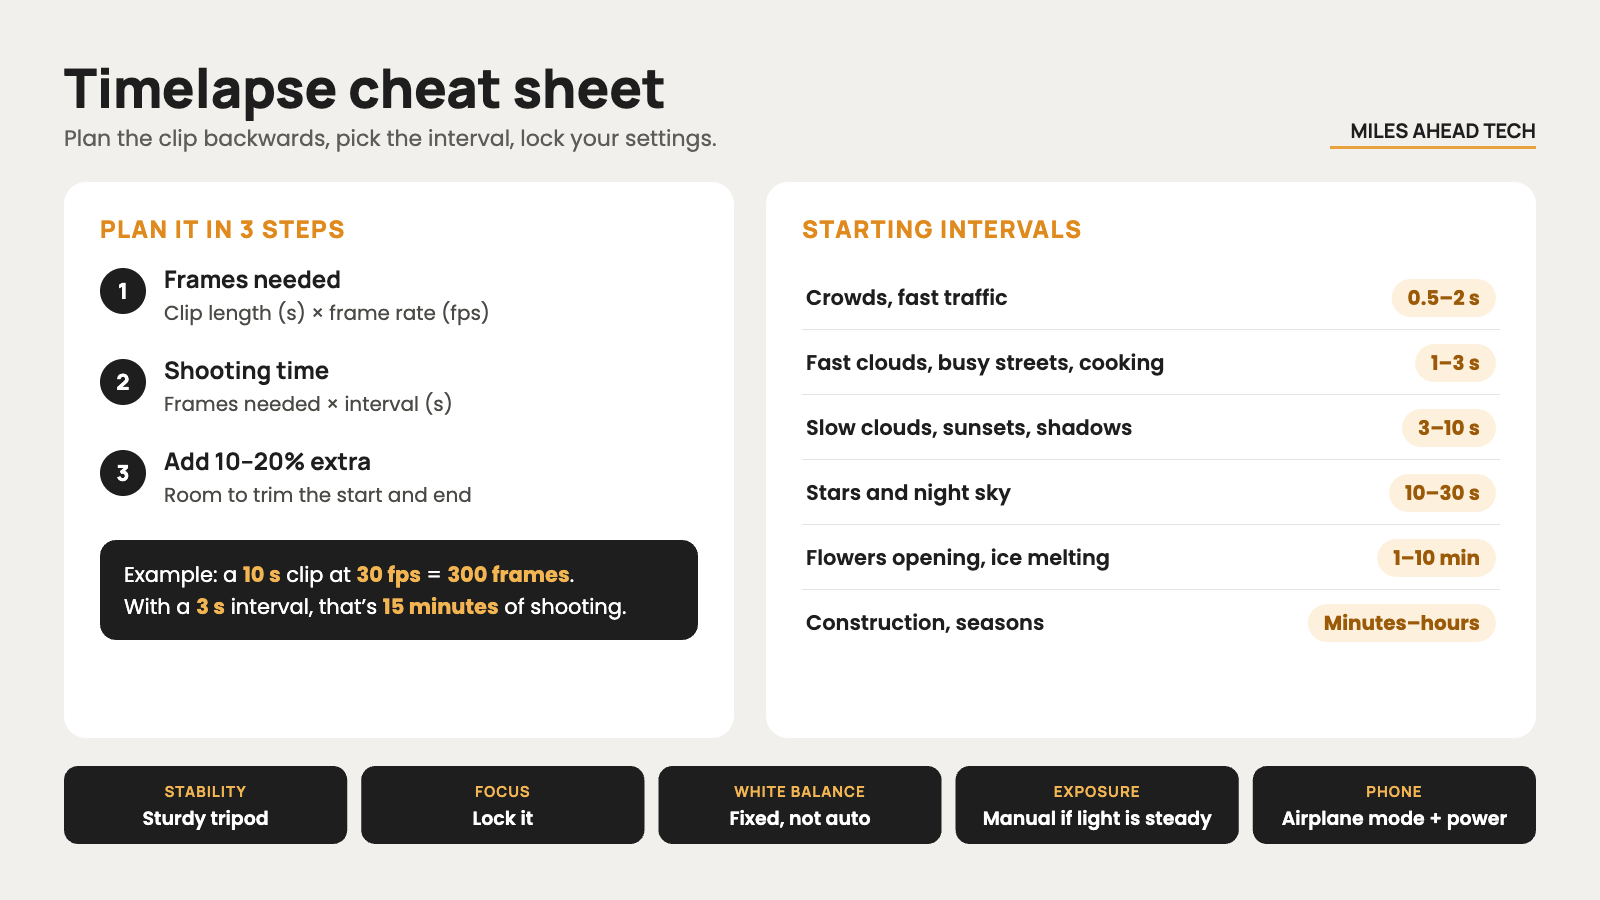
Three numbers decide everything: the length of the final clip, the frame rate and the interval between shots. The math is simple:
Frames needed = clip length in seconds × frame rate. A 10-second clip at 30 fps needs 300 frames.
Shooting time = frames needed × interval. With a 3-second interval, 300 frames take 15 minutes.
Add 10 to 20% extra frames so you have room to trim the start and end.
The right interval depends on how fast your subject moves. Use these as starting points:
| Subject | Starting interval | Tip |
|---|---|---|
| Walking crowds, fast traffic | 0.5–2 seconds | For very fast or random movement, speed up normal video instead. |
| Fast clouds, busy streets, cooking | 1–3 seconds | Shorter intervals give smoother motion. |
| Slow clouds, sunsets, moving shadows | 3–10 seconds | Watch for exposure changes and battery life. |
| Stars and night sky | 10–30 seconds | The interval must be longer than the exposure plus saving time. |
| Flowers opening, ice melting | 1–10 minutes | Shoot indoors with steady light and external power. |
| Construction, seasons | Minutes to hours | You need weatherproofing, fixed framing and reliable power. |
Best camera settings for a timelapse
The goal is consistency. Anything the camera changes on its own between frames shows up as flicker or jumps in the final video.
Focus: focus once, then lock it or switch to manual focus.
White balance: set a fixed value, such as daylight, instead of auto.
Exposure: use manual mode when the light is stable. For sunsets and sunrises, aperture priority with exposure smoothing in editing works better.
Shutter speed: a slower shutter, around half the interval for moving scenes, adds natural motion blur and makes the video smoother.
Aperture: pick a fixed value, around f/5.6 to f/8, so the lens doesn't change between shots.
RAW or JPEG: RAW gives the most room for editing, but takes more space. JPEG is fine for simple daytime scenes.
ND filter: in bright daylight, a neutral density filter lets you use slower shutter speeds for smoother motion.
How to make a timelapse on your phone
On iPhone, open the Camera app, swipe to Time-lapse, frame your shot and tap record. The iPhone picks the interval for you and stabilizes the clip, and on recent models, night timelapses work well on a tripod.
On Android, look for Time-lapse or Hyperlapse in the camera's More menu. Samsung, Google Pixel and Xiaomi phones also let you set the speed or interval yourself, and the Pro or Manual mode can lock exposure and focus.
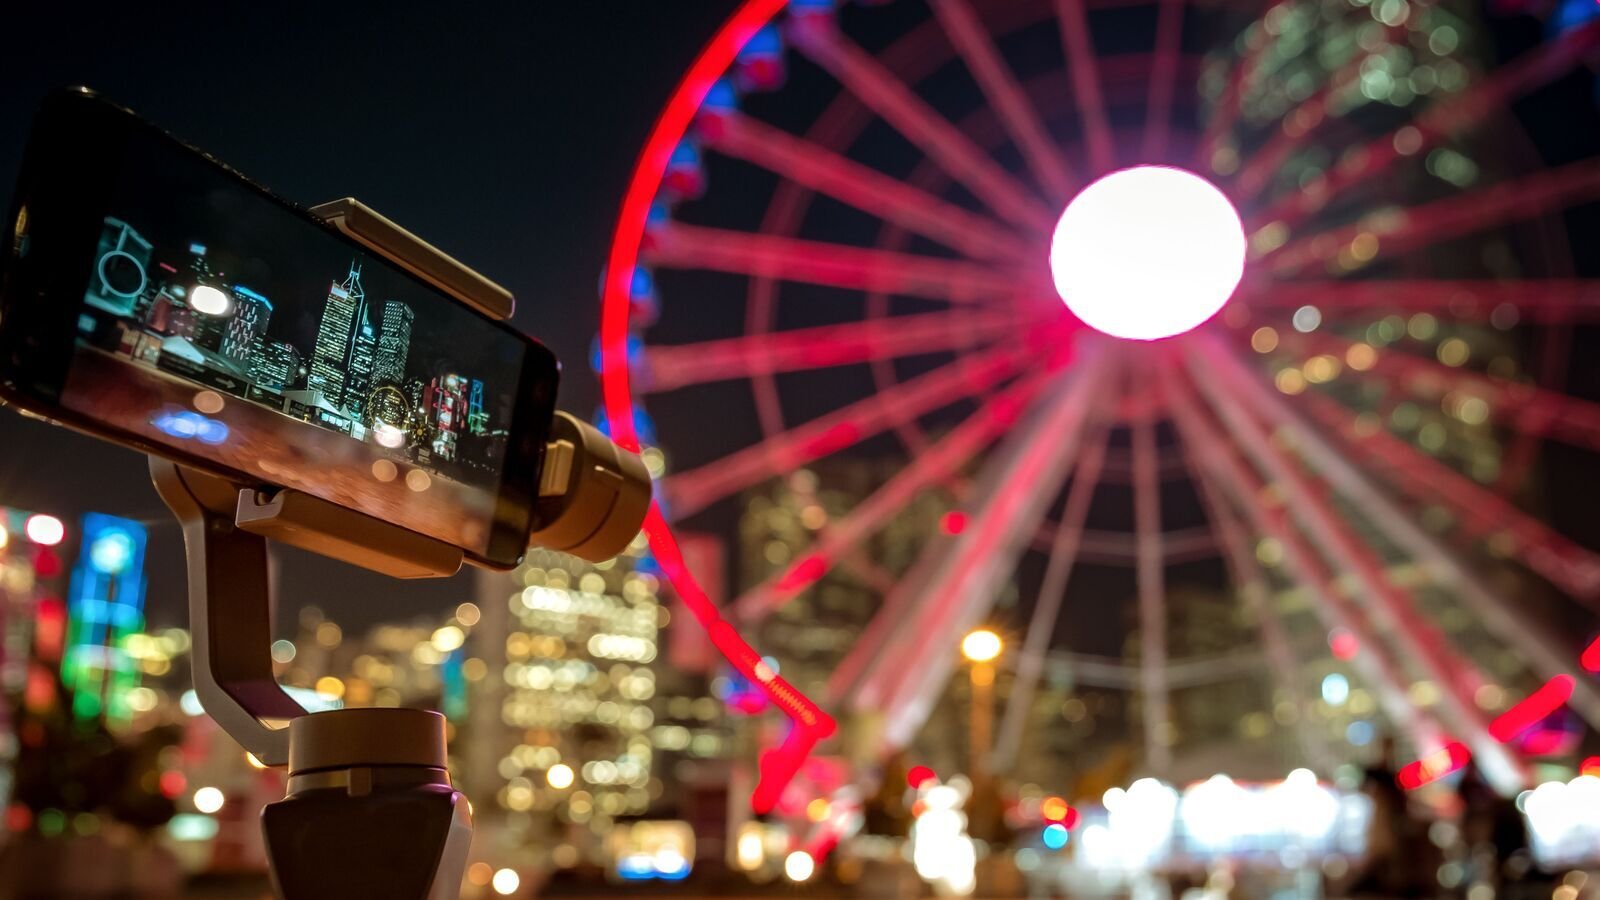
A few tips make a big difference:
Use a tripod. Even small movements ruin a timelapse. A tripod with a phone holder, like the Ulanzi MT-44, is cheap and doubles as a selfie stick.
Turn on airplane mode so calls and notifications don't interrupt the recording.
Lock focus and exposure by pressing and holding on the subject.
Plug in a power bank for anything longer than 30 minutes, and make sure you have enough free storage. If your phone is always full, our guide on where to store your phone photos can help.
Using a camera, action camera or drone
A mirrorless or DSLR camera gives you the most control. Many have a built-in interval timer, and for others, an external intervalometer or the manufacturer's app does the job. Shoot in manual or aperture priority, use RAW for sunsets, and turn off image review and auto power-off.
Action cameras like GoPro offer TimeLapse and TimeWarp modes. TimeLapse is for a camera that stays still, while TimeWarp is a stabilized hyperlapse for when you're moving, like walking, cycling or driving. Drones such as DJI models have hyperlapse modes that fly a set path, but check the local flight rules and the battery time first.
Whatever you use, a rigid mount and a safety strap matter more than you'd think. Tiny vibrations become very obvious when footage is sped up, and wind can knock over a light tripod during a long shoot.
Editing and fixing common problems
Phone timelapses are ready straight away. For photo sequences, import the images into an editor like Lightroom to adjust the first frame and sync the settings to all of them, then combine them into a video in DaVinci Resolve, Premiere Pro, Final Cut Pro or LRTimelapse. Export at 24, 25 or 30 fps, and in 4K if you shot high-resolution photos, since you can then crop and add slow zooms without losing quality.
Flicker: use manual exposure and a fixed aperture, or a deflicker tool in your editor.
Choppy motion: shorten the interval or use a slower shutter speed.
Shaky footage: use a sturdier tripod, protect it from wind and turn off image stabilization on a tripod.
Exposure jumps at sunset: use exposure ramping or smooth the exposure in editing.
Clip is too short: calculate the frames you need before you start and record 10 to 20% extra.
Final thoughts
A good timelapse is planned backwards from the finished clip. Decide how long it should be, calculate the frame count and interval, keep the camera stable and lock focus, exposure and white balance.
Your phone's built-in mode is perfect for getting started, and a photo sequence gives the best results once you want more control. Here's a quick checklist before you press record:
Choose the clip length, frame rate and interval.
Check the battery, storage and weather.
Set up a sturdy tripod and protect it from wind.
Lock focus, exposure and white balance.
Record a short test, then start the real timelapse.
Back up the files before you edit.
