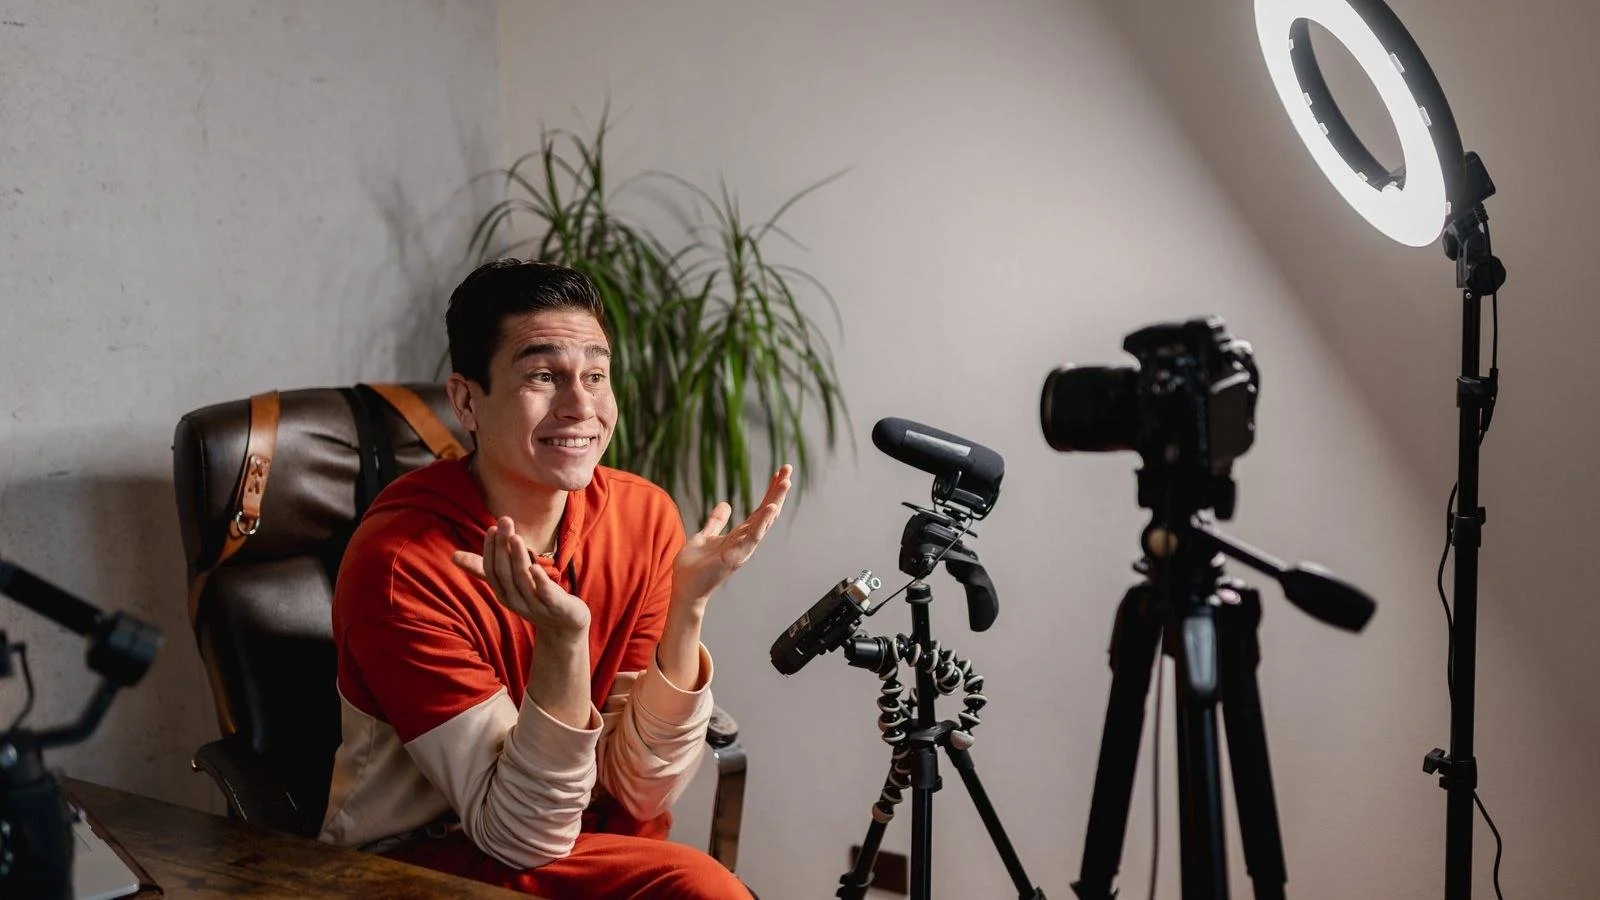
Starting a YouTube channel doesn’t require a studio full of equipment. Most successful channels began with a phone, a cheap microphone and a window for light. What matters far more is clear audio, a well-lit face and steady shots, and you can get all three for less than $100. This guide covers the gear you actually need, in the order you should buy it, plus three starter kits for different budgets.
Prices were checked at the end of October 2026 and change often, especially around Black Friday and Cyber Monday.
Start with the camera you already have
Your phone is almost certainly good enough to start. Recent iPhones and Android flagships record sharp 4K video, have reliable autofocus and built-in stabilization, and they make it easy to edit and upload straight away. Use the main rear camera whenever you can, because it’s noticeably better than the front-facing selfie camera, and flip the phone around only when you need to see yourself.
Lighting and composition matter just as much as the camera itself. Our guide to taking better photos with your phone covers the basics of light, framing and focus, and every tip applies to video too.
Step 1: Get good audio first
Audio is the one thing viewers won’t forgive. People will happily watch a slightly soft or grainy video, but echoey or muffled sound makes them click away within seconds. That’s why a microphone should be your first purchase, even before a new camera.
If you film yourself talking to the camera or move around while recording, a wireless clip-on mic is the most versatile choice. The DJI Mic Mini costs about $59 for two transmitters and a phone receiver, which is excellent value. If you record at a desk, for example voice-overs, commentary or gaming videos, a USB/XLR dynamic mic like the Samson Q2U costs about $80 and sounds far better than a laptop’s built-in microphone.
Step 2: Light your face properly
Good lighting makes a cheap camera look expensive. The easiest free option is a window: sit facing it, so the daylight falls evenly on your face, and avoid having the window behind you, which turns you into a silhouette.
When you start filming in the evening, add a light. A pocket LED like the Ulanzi VL49 costs about $18 and works well for small setups, while a Neewer softbox kit at around $120 gives you soft, flattering light that looks great on camera. Place your main light slightly to one side and above eye level for the most natural look.
Step 3: Keep your shots steady
Shaky handheld footage is tiring to watch. A simple phone tripod fixes that for very little money, and the Ulanzi MT-44 is a great example: it works as a tabletop tripod, a handheld grip and an extendable stand, all for about $22. Set the camera at eye level or slightly above, and leave a little space above your head in the frame.
Step 4: Choose editing software and a computer
You don’t need to pay for editing software when you start. DaVinci Resolve is free and used by professionals, CapCut is quick and easy for Shorts and phone edits, and iMovie comes free with every Mac and iPhone. Pick one, learn the basics and stick with it for a while.
For editing longer 4K videos, a computer with a modern processor and at least 16GB of memory will make the process much smoother. If you’re thinking about an Apple laptop, our MacBook Air vs MacBook Pro comparison explains which model is better for video editing.
When to upgrade to a dedicated camera
Upgrade your camera only once your audio, lighting and editing are in good shape and you know what your phone can’t do. Common reasons include filming in dim rooms, wanting a blurry background, recording long videos without overheating or needing a clean microphone input.
When that time comes, the Canon EOS R50 V is a great first interchangeable-lens camera at about $799 with a vlogging-friendly power zoom lens. If you film on the move, the DJI Osmo Pocket 4 gives you a 1-inch sensor and a built-in gimbal in a camera that fits in your pocket for about $579.
Three starter kits for different budgets
Under $100: phone-first kit
Your phone
DJI Mic Mini (about $59)
Ulanzi MT-44 tripod (about $22)
Ulanzi VL49 light (about $18)
Free editing software: CapCut or DaVinci Resolve
Under $300: desk creator kit
Your phone or an existing webcam
Samson Q2U microphone (about $80)
Neewer softbox kit (about $120)
DJI Mic Mini for on-the-go clips (about $59)
Ulanzi MT-44 tripod (about $22)
Under $1,000: serious beginner kit
Canon EOS R50 V with 14-30mm lens (about $799)
DJI Mic Mini (about $59)
Neewer softbox kit (about $120)
Final tips before you hit record
Do a test recording. Record 30 seconds, then watch it back with headphones to check audio, focus and exposure before filming the whole video.
Film in a soft room. Carpets, curtains, sofas and bookshelves reduce echo far more than any software can fix later.
Turn off notifications. Put your phone in airplane or Do Not Disturb mode so calls and alerts don’t interrupt a good take.
Back up your footage. Copy every project to a second drive or cloud storage, because losing raw footage is painful.
Focus on consistency. A regular upload schedule and improving with every video matter more than any piece of equipment.
